There are various way to include slicers in your dashboard. In this article we will walk you through an option that looks a lot like an Excel table slicer. This intuitive filter option will make your dashboard more usable.
For this method you will be creating 2 buttons, a rectangle shape and a dropdown slicer.
Step 1
For the first button that looks like a little down pointing arrow, go to:
> Insert.
> Buttons.
> Blank.
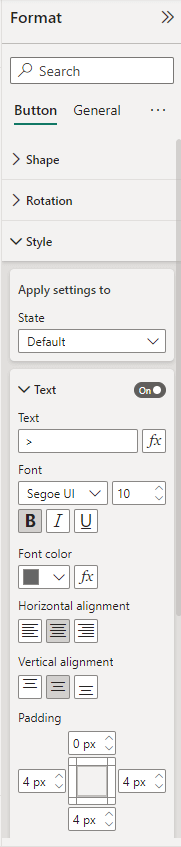
Step 2
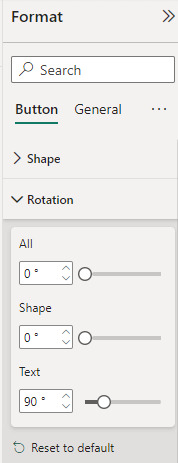
Under Format Options:
> Go to Rotation, and set Text to 90.
Step 3
Under Format Options
> Go to Style, and use “>” for text to mimic the arrow down symbol.
> Align center for both horizontal and vertical alignment.
> Change the padding so the little arrow is in the center of the button.
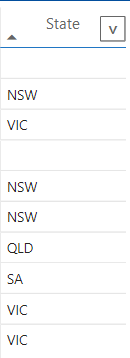
> The first button should now look like this (see below).
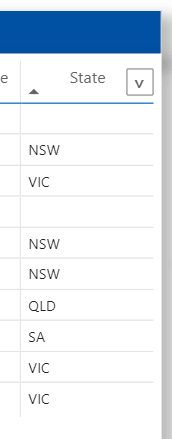
> Now place this button on top of the right column in your Matrix visual.
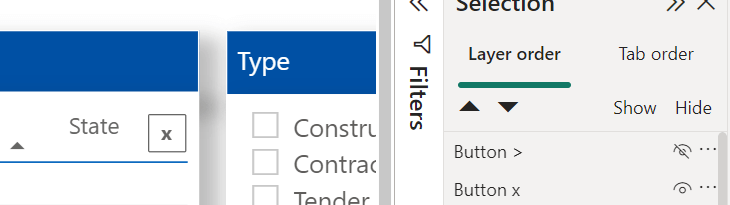
Step 4
Now we will create the second button
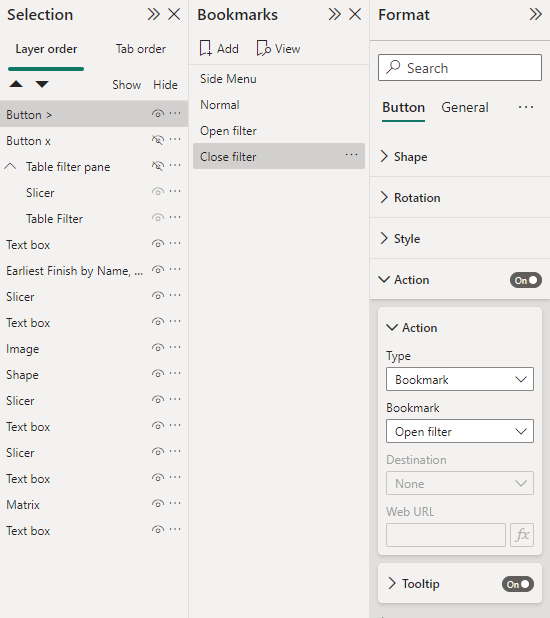
> In the View tab, select Bookmarks & Selections. This will help you with copy + pasting and organising the buttons.
> Copy + Paste the previous button.
> Change the following settings.
> Rotation back to 0
> Change text to “x”
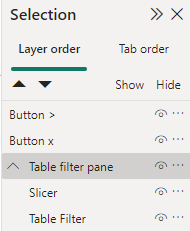
> Now under Selection > Layer order in the panel on the right, make sure the Button > is on top of Button x. I changed the naming of the buttons here.
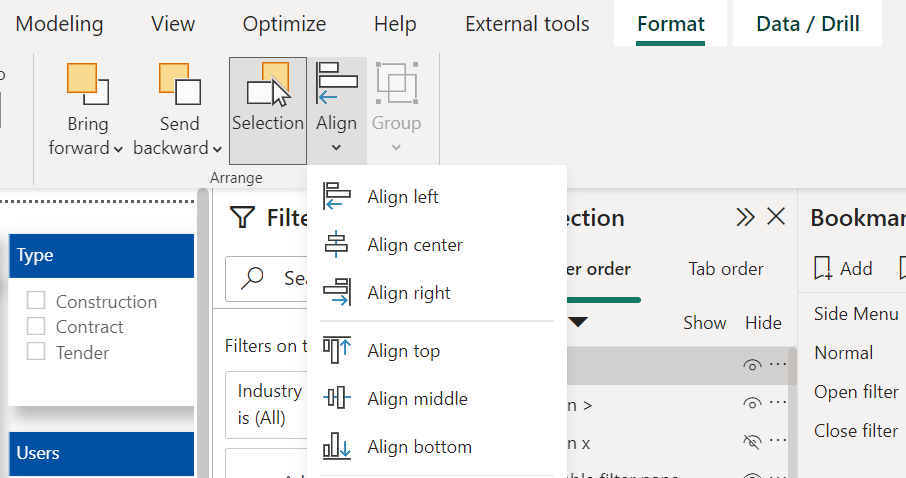
> Select both buttons in the Selection pane. Under Format (top menu) to to Align and click on Align right, and Align Top.
Step 5
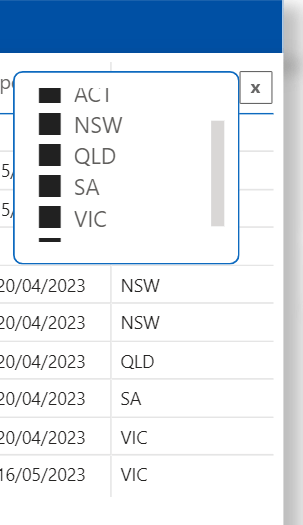
For the filter pane:
> Go to Insert > Shapes > Rectangle
> Edit the format as you like, and place it on the left of your button.
> Then add a Slicer visual as Vertical list Style on top of the shape, and drop in the field you want to use in Field.
> Under Selection, group the Shape and the Slicer visual. Give this group a name
Step 6
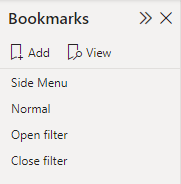
To create the bookmarks go to:
> Bookmarks, and Add 2 new bookmarks.
> Name the first one something like “Open filter”. This bookmark will action the Button > to open the slicer.
> Name the first one something like “Close filter”. This bookmark will action the Button x to close the slicer.
Step 7
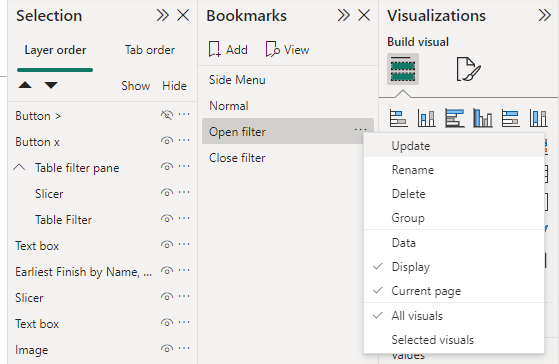
To set up Bookmark 1 (open filter)
> Hide Button > by selecting the eye symbol on the right side under Selection.
> Now select the 3 dots next to your Open filter bookmark. Make sure to unselect Data. Then select update.
Step 8
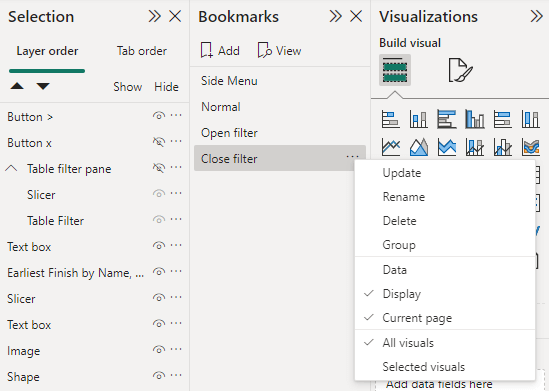
To set up the Bookmark 2 (close filter)
> Hide Button x by selecting the eye symbol on the right side under Selection.
> Hide the Table filter pane group as well.
> Now select the 3 dots next to your Close filter bookmark. Make sure to unselect Data. Then select update.
Step 9
Set up an Action for the bookmarks.
> Select Button > under Selection.
> Under Format go to Action, and select Open filter for the Bookmark.
> Do the same for the Button x bookmark, but select the Close filter under Bookmark here.
Step 10
Now test your system by ctrl + clicking the buttons.
Analytics and Commercial Manager - Sanne Zwetsloot
This article was written by Sanne. You can contact her at sannez@solidsupport.com.au. Learn more about our BI services here: